

Home
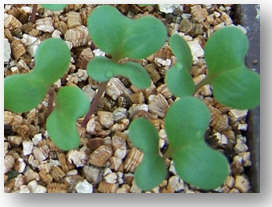
About us
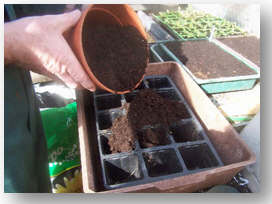
Garden Diary
Weather Diary
Our Garden
Allotments
Grow It
Sow & Harvest
Garden Equipment
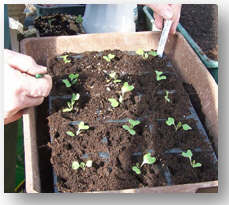
Seed suppliers
Manure Problem
Eat It - Recipes
Wildlife
Places to visit
Solve It - Puzzles
Children's Pages
Our Webs/ Blogs
Links
GLA Blog
Shopping Links