

Home
About Us
Allotments
Garden Equipment
Seed Suppliers
Manure Problems
Children's Pages
GLA Blog
Weather Blog
School Veg Patch
Useful Links
Making a waspinator
In the past we have had trouble harvesting our plums and greengages as wasps like the ripe fruits as much as we do.
Reaching up to pick fruit above head height was particularly hazardous as the risk was always that we would grasp a fruit full of gorging wasps.
A couple of years ago, on Gardeners World, Monty Don mentioned that he had stopped wasps from attacking the grapes in hos greenhouse by using a waspinator. This sounded as though it was worth a try and so I looked them up on the internet. Amazon sell some ready made waspinators but looking at them I though I could make my own versions especially as I thought I needed to make a few.
The idea is that the waspinators resemble wasp's nests and fool passing wasps into thinking that another group have already colonised the area and so they move on.
I don't know whether it's the fact that my waspinators have worked or that it is a coincidence but for the two years that I have been making then, we haven't had any wasps browsing the fruits.
Just in case you fancy having a go at making waspinators yourself I thought I'd explain how I make them. You can choose whether to watch the video or read the instructions below.

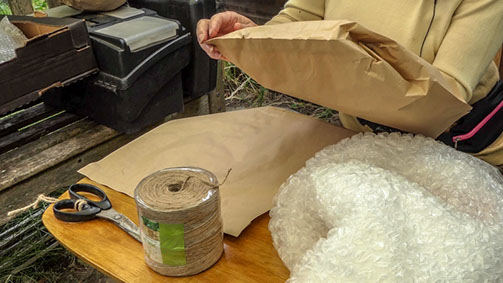
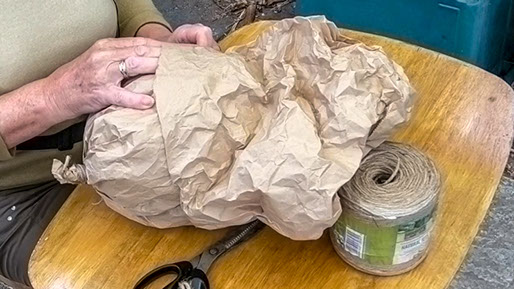
First of all gather together the materials you need.
- Two large brown paper bags (a bought a stack of them from Amazon
- String
- A pile of bubble wrap or something similar with which to stuff the bags.
- Scissors
Fold the corners of the paper bag inwards so that the final shape looks more rounded.
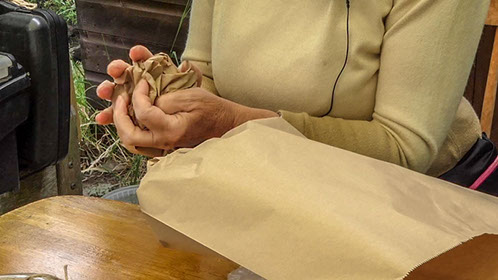
Crumple the paper bags to give the waspinator a less smooth appearance.
Open one of the the bags out.
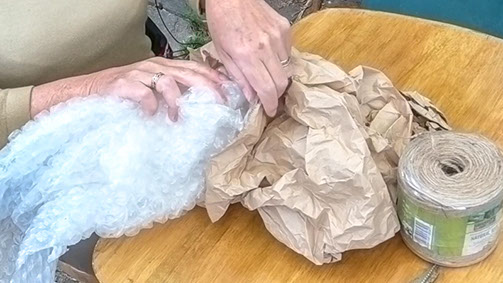
Pack the bag with as much bubblewrap as you can leaving enough space to be able to close and tie the top of the bag.
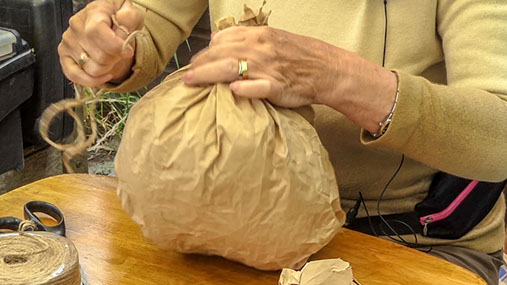
Tie the neck of the bag tightly
Place the stuffed bag inside the other bag ti provide a double skin,
This makes the waspinator stronger.
Gather together the second bag and tie tightly leaving long enough ends to the string to enable you to tie the waspinator to a branch of the tree.
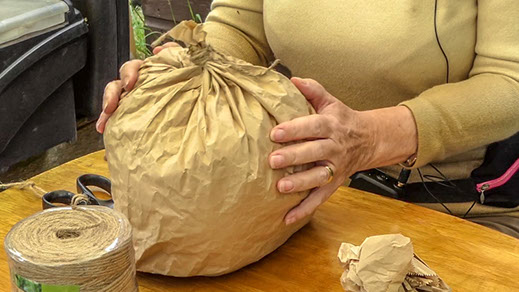
There you have a completed waspinator.
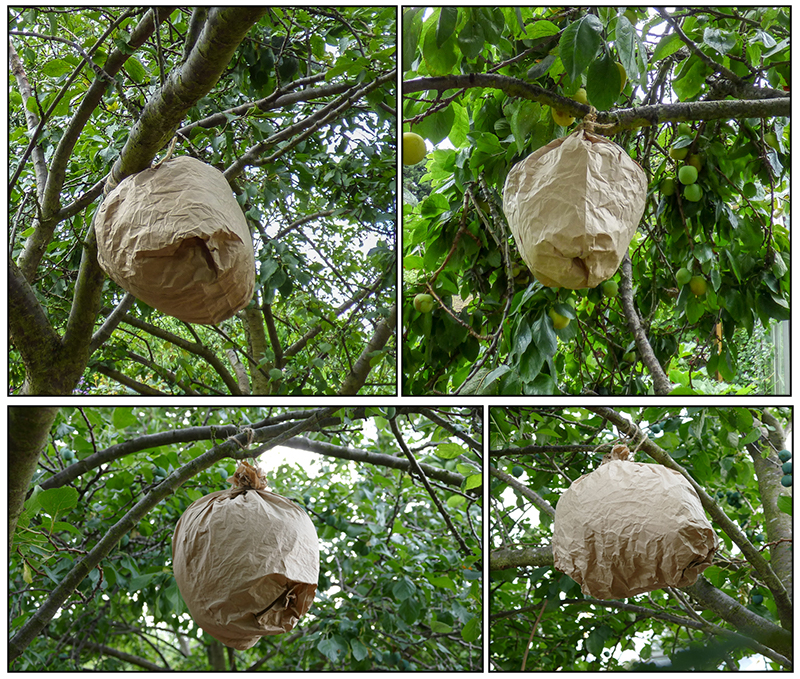
Placed under the tree canopy the waspinator receives some protect from the weather but if it becomes tatty or very wet, then the while things can be placed in a new crumpled brown paper bag.
Now all that you need to do is to hang it on a branch of the tree,
I tie mine closely to the branch then it doesn't swing around and looks more natural.
Our Plot at Green Lane Allotments Blog | A Gardener's Weather Diary | School Vegetable Patch Website
© Our Plot on Green Lane Allotments - Please email me if you wish to use any of this site's content